Kim is a master at creating beautiful, warm, and inviting spaces. She wanted to upgrade her TV unit to feature a gorgeous timber-look top bench, but she also wanted the project to be affordable and hassle-free. By using our Beech Woodgrain Furniture Film and the right applicator tools, she achieved a flawless, professional finish in just an afternoon.
Step-by-Step Guide: How to Upcycle Your TV Unit
Step 1: Prep Your Application Solution
First, unbox your Pillar Products Applicator Kit. Fill the provided spray bottle with water and add the Window Film Solution concentrate. This solution is exactly what you need to prevent the film from sticking immediately, giving you time to slide it into the perfect position.
Step 2: Spray and Position
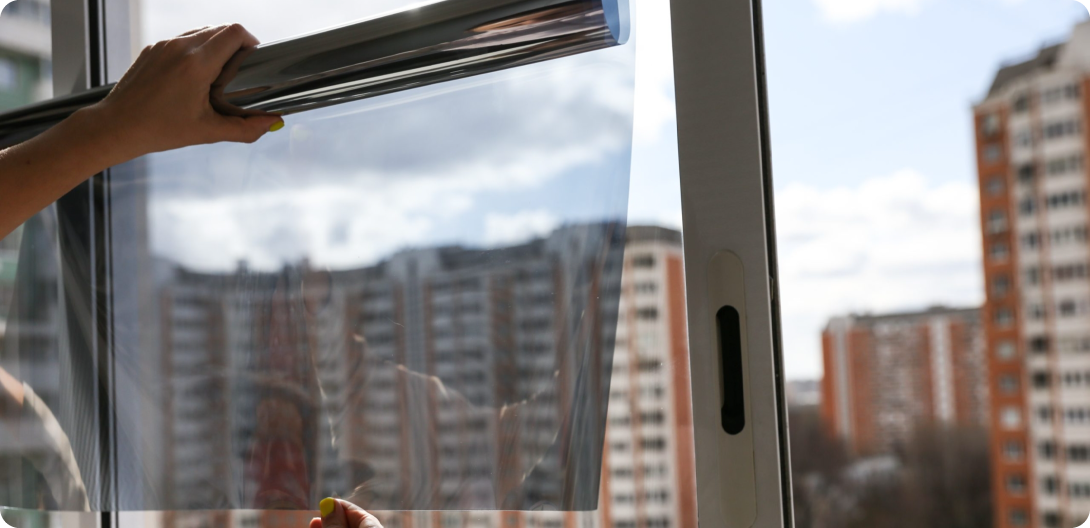
Unroll your Furniture Film to measure the length of your unit. Spray the adhesive side of the film (and the surface of your TV unit) generously with the mixed solution as you roll it out. Place the film onto the top of the unit.
Kim’s Tip: Because of the application solution, if you make a mistake, you can easily lift the film back up and try again!
Step 3: Smooth It Out
Once your film is in place, take the felt-tip applicator (squeegee) from your kit. Starting from the centre and working your way outwards, firmly smooth the film down. The felt tip ensures you won’t scratch the finish while pushing out all the excess liquid and air bubbles underneath.
Step 4: Trim for a Perfect Finish
To get those crisp, professional edges, use the craft knife included in the kit. Carefully glide the blade along the edges and corners of the TV unit to remove any overhanging film.
Step 5: Style and Enjoy!
Give the surface a quick wipe-down, let it set, and then it’s time for the fun part—styling! Add your favourite vases, coffee table books, and trailing plants to complete the look.
Buy Furniture Film